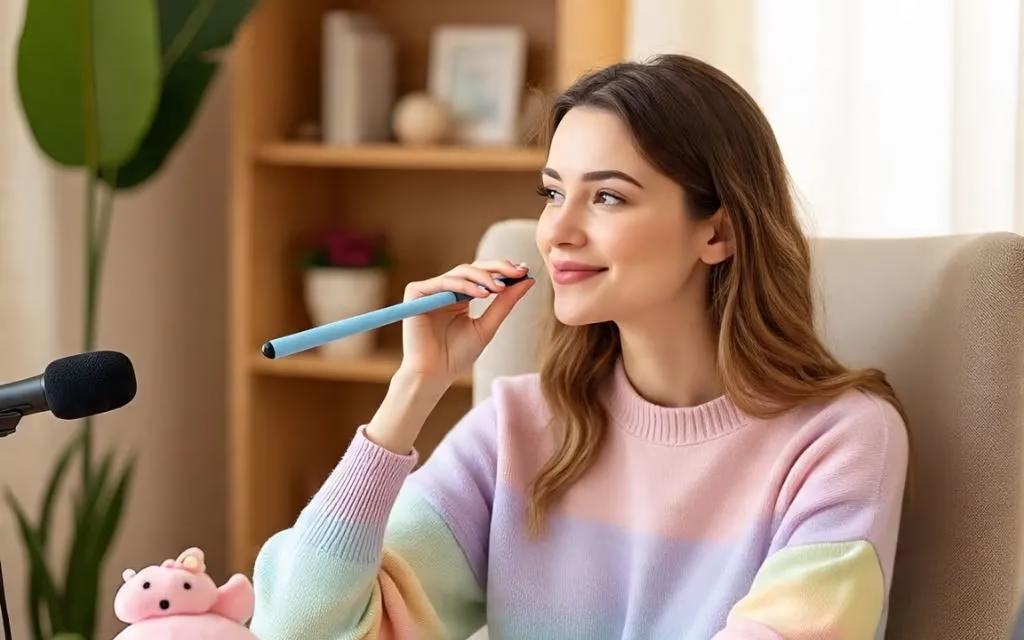
ASMR (Autonomous Sensory Meridian Response) has taken over YouTube and other platforms by storm. Whether it’s the soft whispers, gentle tapping, or soothing sounds of brushing, ASMR videos are designed to relax the viewer and trigger a calming, tingling sensation. If you’re interested in creating your own ASMR content, understanding the proper ASMR video setup for beginners is crucial. Fortunately, you don’t need a professional studio to get started — just the right gear, a quiet space, and some creativity.
Find a Quiet Recording Space
The foundation of any ASMR video is sound clarity. Background noise such as fans, traffic, or household activity can ruin the immersive experience. As a beginner, choose the quietest room in your house. You don’t need a soundproof booth, but using soft furnishings like curtains, rugs, and cushions can help dampen echo and external noise. Some creators even record late at night to minimize environmental sound interference.
Choose the Right Microphone
Arguably the most important part of an ASMR video setup for beginners is the microphone. Sound quality can make or break your content. For starters, a USB condenser microphone is a great investment. Models like the Blue Yeti or FIFINE K690 are budget-friendly and offer excellent sound sensitivity for whispering and tapping.
If you’re serious about ASMR, consider binaural microphones like the 3Dio Free Space, which replicate how our ears perceive sound, enhancing the immersive quality. However, these can be expensive and are not necessary when you’re just starting out.
Use a Quality Camera (or Smartphone)
While audio is king in ASMR, video quality still matters. You don’t need an expensive DSLR — many creators start with their smartphone cameras. Make sure it can record in at least 1080p HD. If you’re using a separate camera, choose one with manual focus control so you can highlight specific ASMR props or hand movements.
A tripod or stabilizer is essential to keep your footage steady. Shaky footage can be distracting and break the calming atmosphere you’re trying to create.
Lighting: Soft and Subtle
ASMR is about relaxation, so your lighting should be gentle. Avoid harsh overhead lights or direct flashes. Use softbox lights or ring lights with adjustable brightness to create a soothing, even glow. Warm-toned lights often work best to complement the calming mood.
Natural lighting can also be beautiful if you record during the day, but be mindful of changes in lighting throughout your shoot.
Choose Your Props Wisely
As a beginner, you don’t need a vast collection of ASMR tools. Start simple. Everyday items like makeup brushes, paper, glass bottles, or even crinkly packaging can be used creatively. The key is to experiment with textures and sounds — tapping, brushing, scratching, and whispering all make excellent starting points.
Editing and Post-Production
Once you’ve recorded your video, light editing helps create a polished final product. Free software like DaVinci Resolve, iMovie, or Shotcut can help you cut unwanted sections, adjust lighting, and sync audio. Clean audio with tools like Audacity can reduce background noise and enhance the ASMR triggers.
Add a calming intro, soft background music (if desired), and ensure your volume levels are consistent throughout.
Final Tips for Beginners
- Record in short segments to avoid burnout and make editing easier.
- Practice whispering or speaking softly without sounding forced.
- Watch other ASMRtists for inspiration, but develop your own unique style.
- Be patient. Building an audience takes time, but consistency and authenticity matter most.
Would you like this article formatted for a blog or with SEO meta tags?


